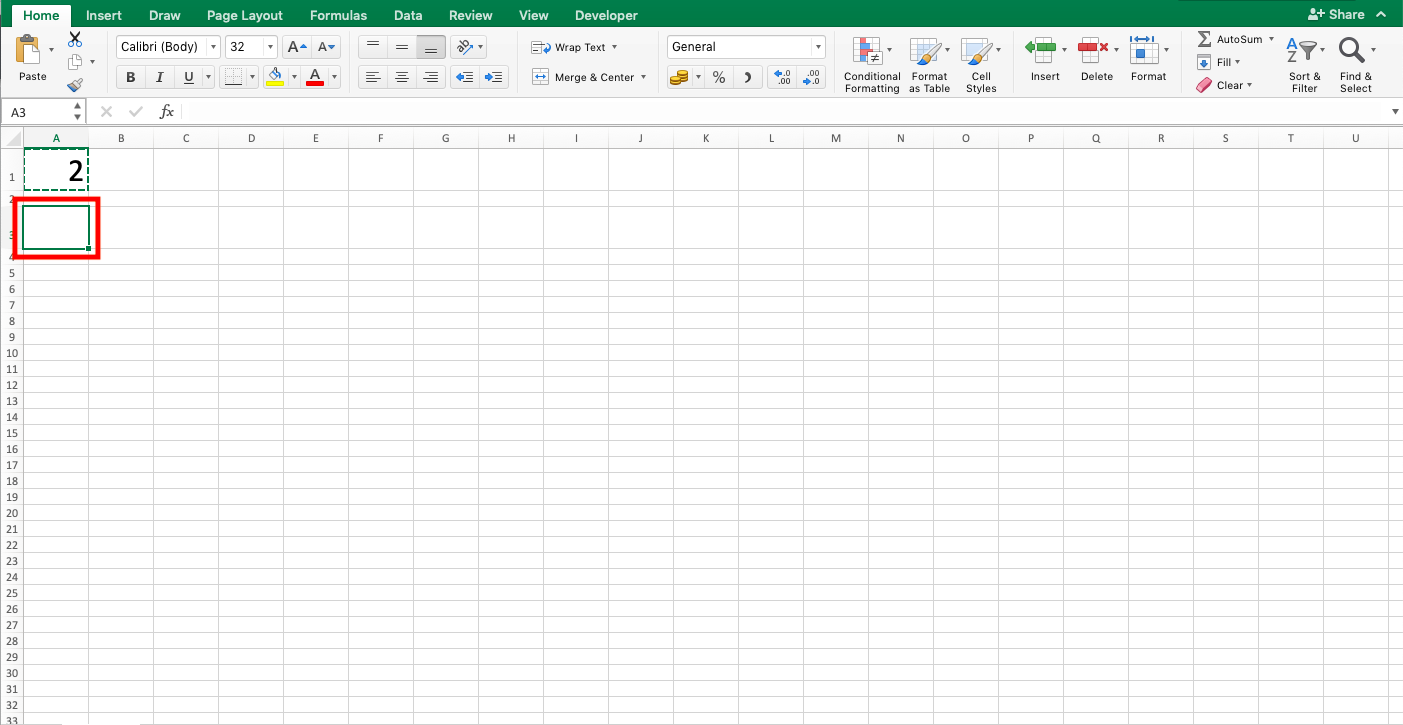
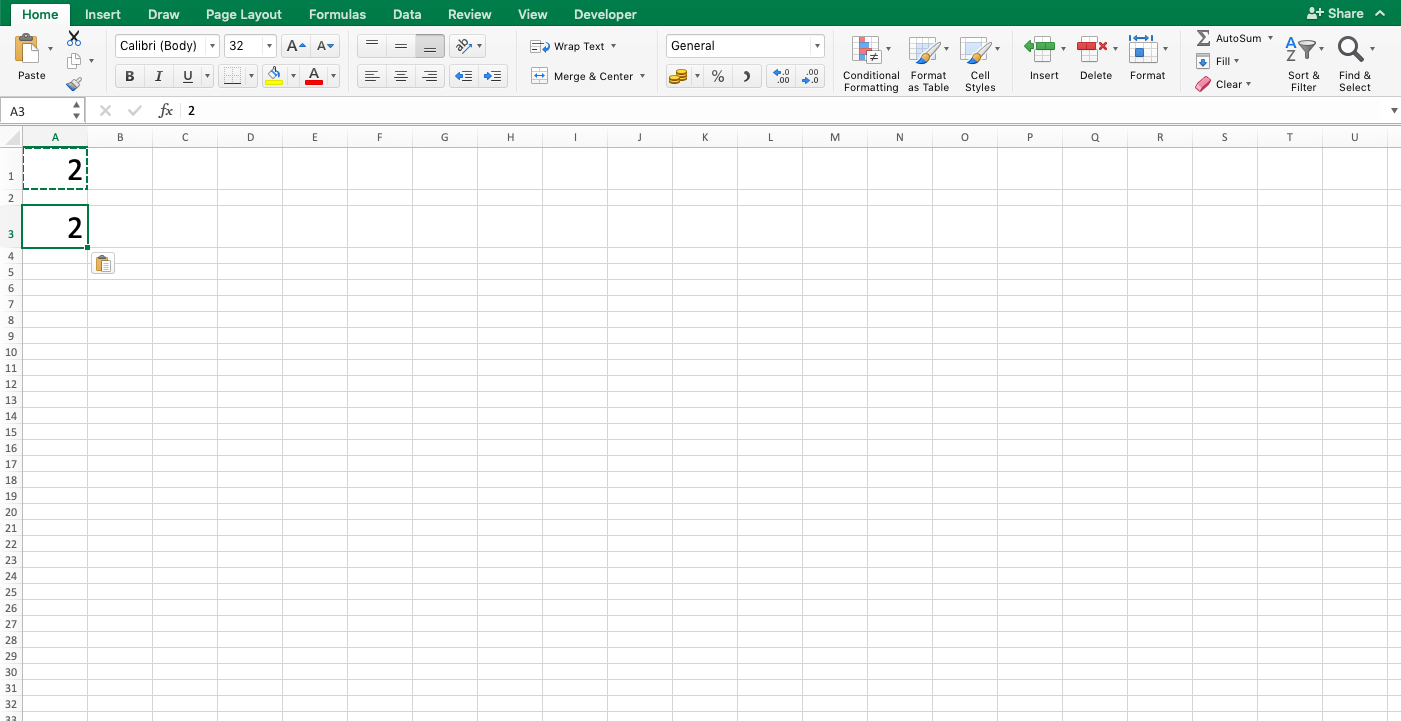
Paste Special Excel
In this tutorial, we will discuss the paste special excel feature.
This feature can help you to copy to other cells but not just cells’ contents. You can vary your copy results so they can match your needs much more.
Why do We Need to Learn the Copy Paste Special Excel Feature?
In processing data on a spreadsheet file, often we need to copy data to some or many cells. In doing the process itself, sometimes we need specific results according to our data processing needs. At times, we don’t want to copy all formatting and contents that are on a cell. We just want to copy some parts of it.
The easiest example is probably when we want to move values from formulas to some cells. This process might be needed as materials for further data processing.
If we just do the copy process ordinarily, then the formulas will also be copied to other cells. If what we need is just the values, then we should specify that need in the process if we can.
This process specification can be done using the paste special excel feature (paste special values for the case example above). The feature utilization can make your data copy process much more specific according to your needs. You should understand how to use this feature if you often use the spreadsheet tool in your work.
What is the Paste Special Excel Feature?
The paste special command lets you copy and paste something based on your specification. The difference between paste and paste special lies in this ability to specify the result of the process as you wish.
How to Do the Paste Special in Excel?
The following will explain the steps of using the paste special excel feature. The explanation will also be given with screenshots to help your learning process. Here, we will explain all the copy options you can use too when utilizing this feature.
Using the Paste Special Excel Feature
-
Mark the cells which contents you want to copy (Highlight them and press Ctrl + C (Command + C on Mac) simultaneously or right-click and choose Copy)

-
Highlight the cells where you want to put the process result

-
In the Home tab, click the dropdown on the Paste button

-
Choose the option that suits your needs. Here is the explanation for each of the options.

Paste:- Paste: standard copy result
- Formulas: just the formula
- Formulas & Number Formatting: the formula and the number formatting
- Keep Source Formatting: the content and the format of the source
- No Borders: the standard copy result without the borders settings
- Keep Source Column Widths: the standard copy result with the column width also
- Transpose: turn the column contents into row contents and vice versa
Values:- Values: just the value from the formula
- Values & Number Formatting: the value from the formula with the number formatting
- Values & Source Formatting: the value from the formula with the format
Other Options:- Formatting: just the format
- Link…: the source coordinate link (an absolute link)
- As Picture: an image result
- Linked Picture: an image result with the source coordinate link (if you double-click the image, you will be directed to the source location)
If all the options above do not fit your needs, choose the bottom one. In the dialog box shown, there will be more result options although some of them are the same as previous options. The brief explanation for each option is as follows:

Paste:- Formulas: just the formula
- Values: just the value of the formula
- Formats: just the format
- Comments: just the comment
- Validation: just the data validation setting (set in the “Data Validation” menu)
- All using Source Theme: the standard copy result with the color, font, and graphic source themes
- All except borders: the standard copy result without the border settings
- Column widths: just the column width
- Formula and number formats: just the formula and the number formatting
- Values and number formats: just the value and the number formatting
- All, merge conditional formats: the standard copy result with the conditional formatting settings
Operations:- None: doesn’t do any calculation process between the data copied and the data in the destination cell. The copied data will replace the destination cell contents
- Add: do the sum calculation between the two data
- Subtract: do the subtraction calculation between the two data (the destination cell contents are subtracted by the copied data)
- Multiply: do the multiplication calculation between the two data
- Divide: do the division calculation between the two data (the destination cell contents are divided by the copied data)
Skip Blanks: blank cells won’t replace the destination cells which already have contents
Transpose: turn the column contents into row contents and vice versa
Paste Link: the source coordinate link(an absolute link)
Click OK if you use the option from the dialog box -
Done!

Exercise
After learning how to utilize the paste special excel feature, now let’s do an exercise. This is so you can understand the use of the feature deeper!
Download the exercise file and do all the instructions. If you are confused about how to do them, then see the tutorial again to help you!
Link to the exercise file:
Download here
Question
Use the paste special excel feature in running each instruction below to copy the yellow-colored cell!- Take the value only!
- Put a link that refers to the source!
- Subtract the 3 with just the value from the source!
Link to the answer key file:
Download here
Additional Notes
Want to copy your formula without moving its cell coordinates references? For that, you should add $ signs before its column letter and/or row number, not using the paste special excel feature.


