How to Insert Cells in Excel


In this tutorial, you will learn how to insert cells in excel completely.
When we work in excel, we might sometimes need to slip some cells into the cell range where we place our data. If we know how to do this, we should be able to work in excel more optimally.
Want to know the way to insert cells in excel? Read this tutorial until its last part!
Disclaimer: This post may contain affiliate links from which we earn commission from qualifying purchases/actions at no additional cost for you. Learn more
Want to work faster and easier in Excel? Install and use Excel add-ins! Read this article to know the best Excel add-ins to use according to us!
Table of Contents:
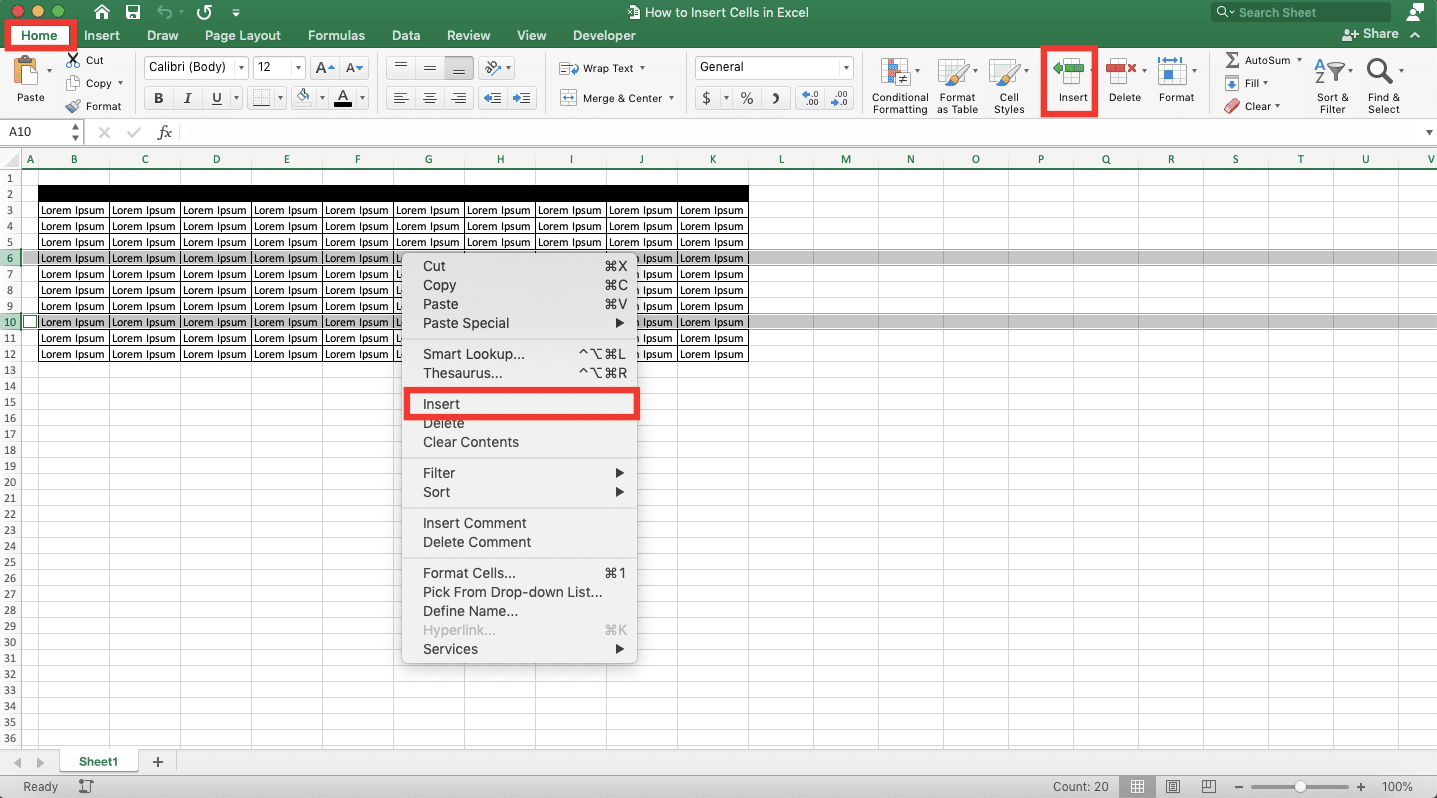
How to Insert Cells in Excel One by One
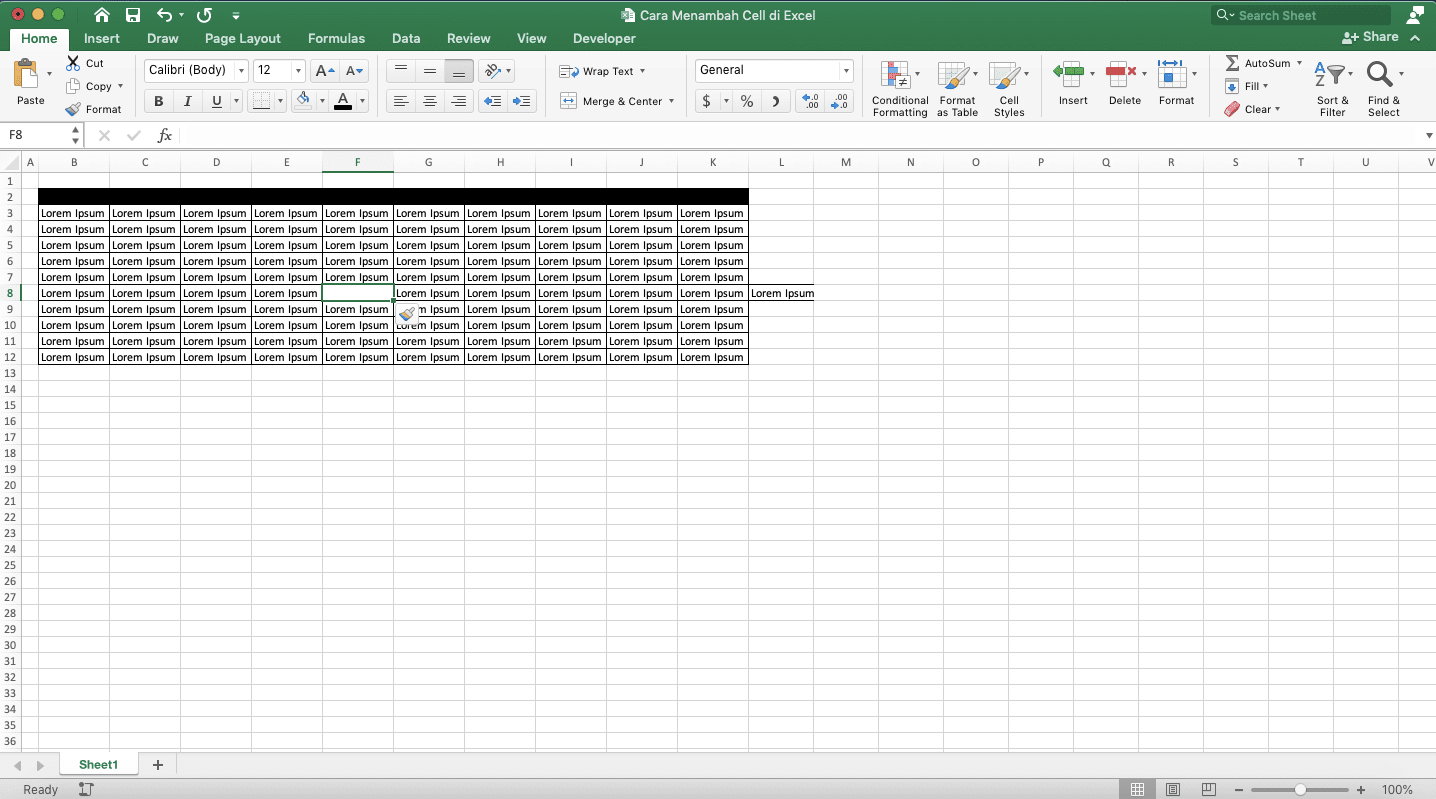
First, let’s learn the way to insert cells by adding one cell at a time. Following these steps should help you to do just that.-
Place your cell cursor on the left or on the top of where you want to insert your cell

-
Right-click and select Insert… or go to the Home tab, click the Insert dropdown button there, and choose Insert Cells…


-
Choose Shift Cells Right (pushing cells to the right from where your cell cursor is currently) or Shift Cells Down (pushing cells down from where your cell cursor is currently) and click OK

-
Done!
How to Insert Cells in Excel by Adding Columns
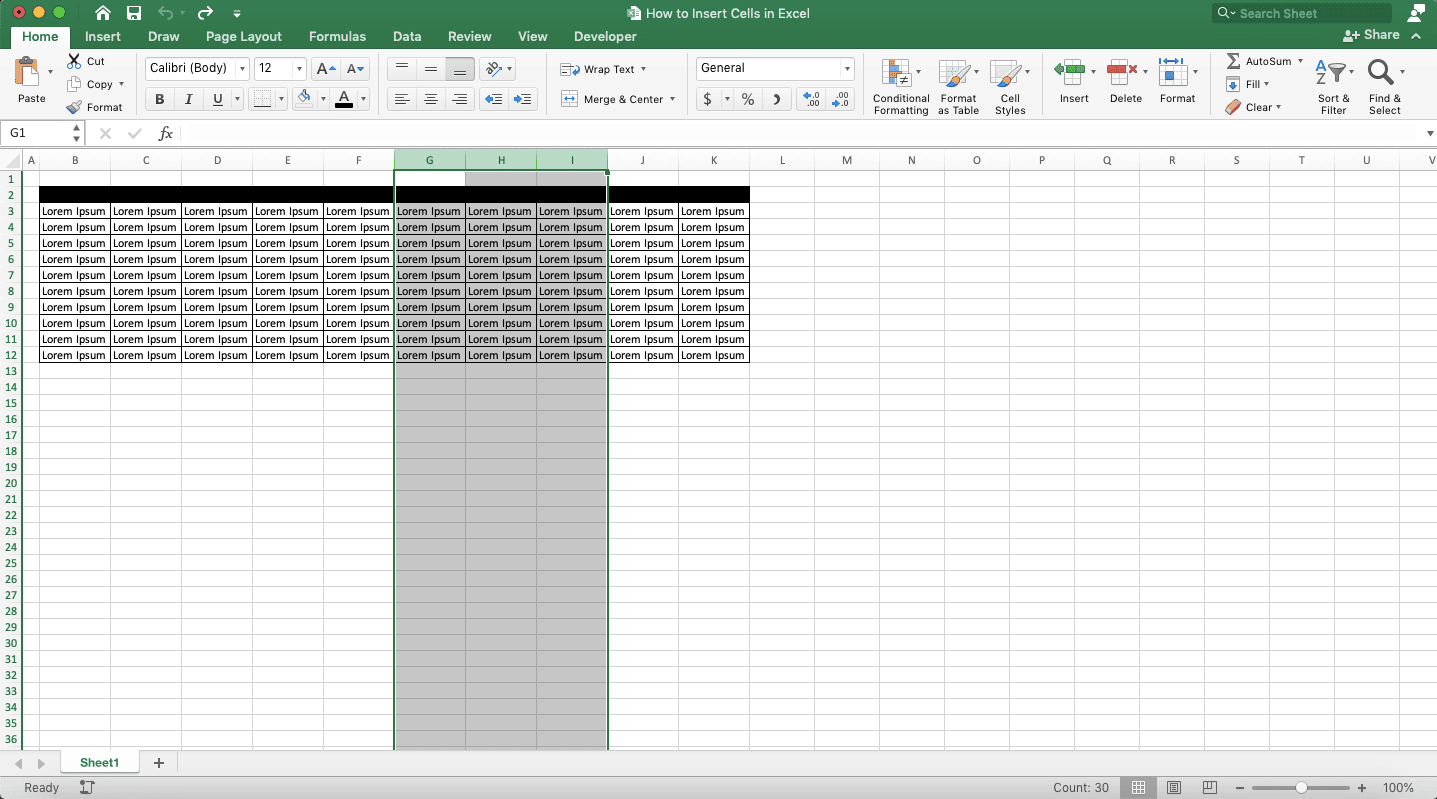
You can also insert cells by adding columns in your data range. Here are the steps to do that.-
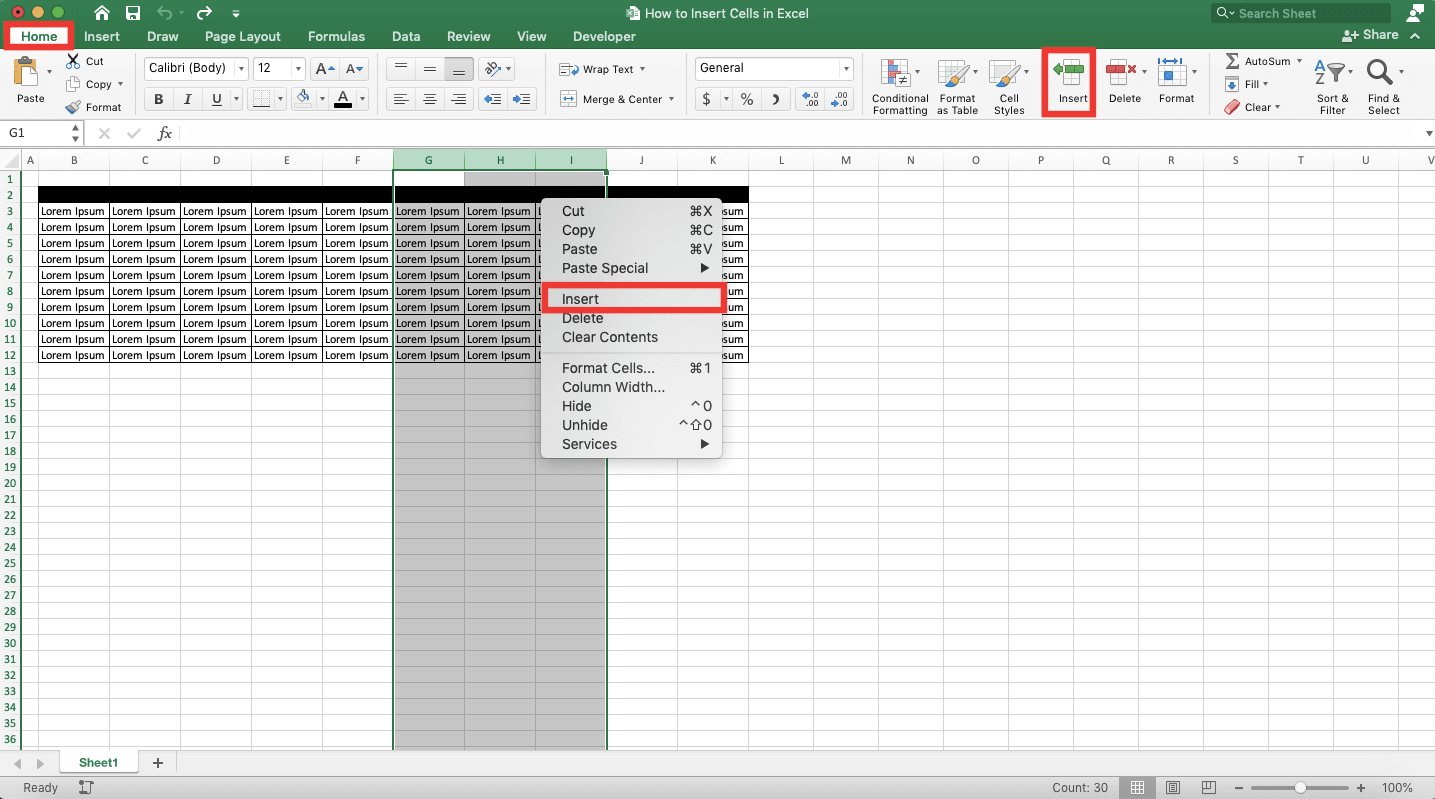
Highlight the column on the right of where you want to add your column by clicking its letter note on the top.
If you want to add multiple columns, highlight columns as many as you want to add (to highlight adjacent columns, click and drag along their letter notes. To highlight non-adjacent columns, click their letter notes while pressing and holding the Ctrl button (Command button on Mac))
-
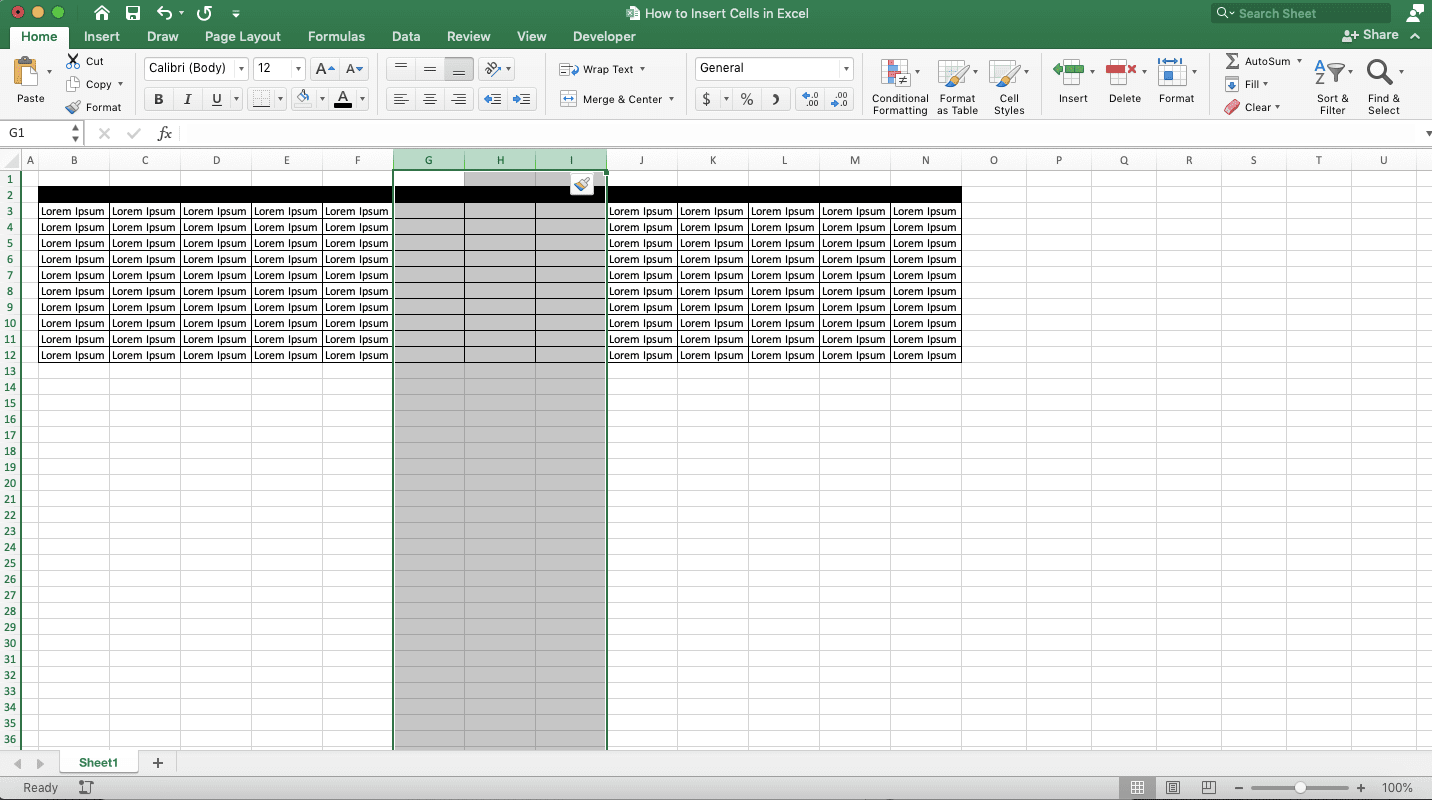
Right-click on the column and choose Insert or go to the Home tab and click the Insert button there
-
Done!
How to Insert Cells in Excel by Adding Rows
Besides adding columns, you can also add cells in excel by adding rows. Here are the steps to do it.-
Highlight the row below where you want to insert your row by clicking on its number note on the left.
If you want to add multiple rows, highlight rows as many as you want to add (to highlight adjacent rows, click and drag along their number notes. To highlight non-adjacent rows, click on their number notes while pressing and holding the Ctrl button (Command button on Mac))

-
Right-click on the row and choose Insert or go to the Home tab and click the Insert button in it
-
Done!

Exercise
After you have done learning how to insert cells in excel, let’s do this simple exercise. This is so you can understand the lessons from this tutorial more practically.Open an excel file and try to insert cells in its data cell range by using all of the three methods above. Remember to not save the file after you do it!
What is the result? Can you do it? If you still can’t, go back to our tutorial above and try to learn again the part you still haven’t mastered yet!
Additional Note
If you want to use shortcuts, you can select a column by placing your cell cursor on one of its cells and pressing Ctrl + Space Bar (Control + Space Bar on Mac) buttons. To select a row, place your cell cursor on one of its cells and press the Shift + Space Bar buttons.Then, to add the column/row, just press Ctrl + Shift + + (Command + Shift + + on Mac) buttons.
Related tutorials you might want to learn: