How to Set Print Area in Excel
Home >> Excel Tutorials from Compute Expert >> Excel Tips and Trick >> How to Set Print Area in Excel


In this tutorial, you will learn how to set the print area in excel completely.
When you want to print your Excel document, you may sometimes want to print only certain areas of your worksheets. By setting the print area in excel before you print, you can print only the areas you want easily.
Want to know the way to set print area in excel so you can print your excel document according to preference? Read this tutorial until its last part!
Disclaimer: This post may contain affiliate links from which we earn commission from qualifying purchases/actions at no additional cost for you. Learn more
Want to work faster and easier in Excel? Install and use Excel add-ins! Read this article to know the best Excel add-ins to use according to us!
Table of Contents:
How to Set Print Area in Excel: a Step-by-Step Guide
If you have already mastered it, the way to set print area in excel is actually pretty simple. Here are the complete steps to do it.-
Highlight the cell range you want to set as the print area in your worksheet
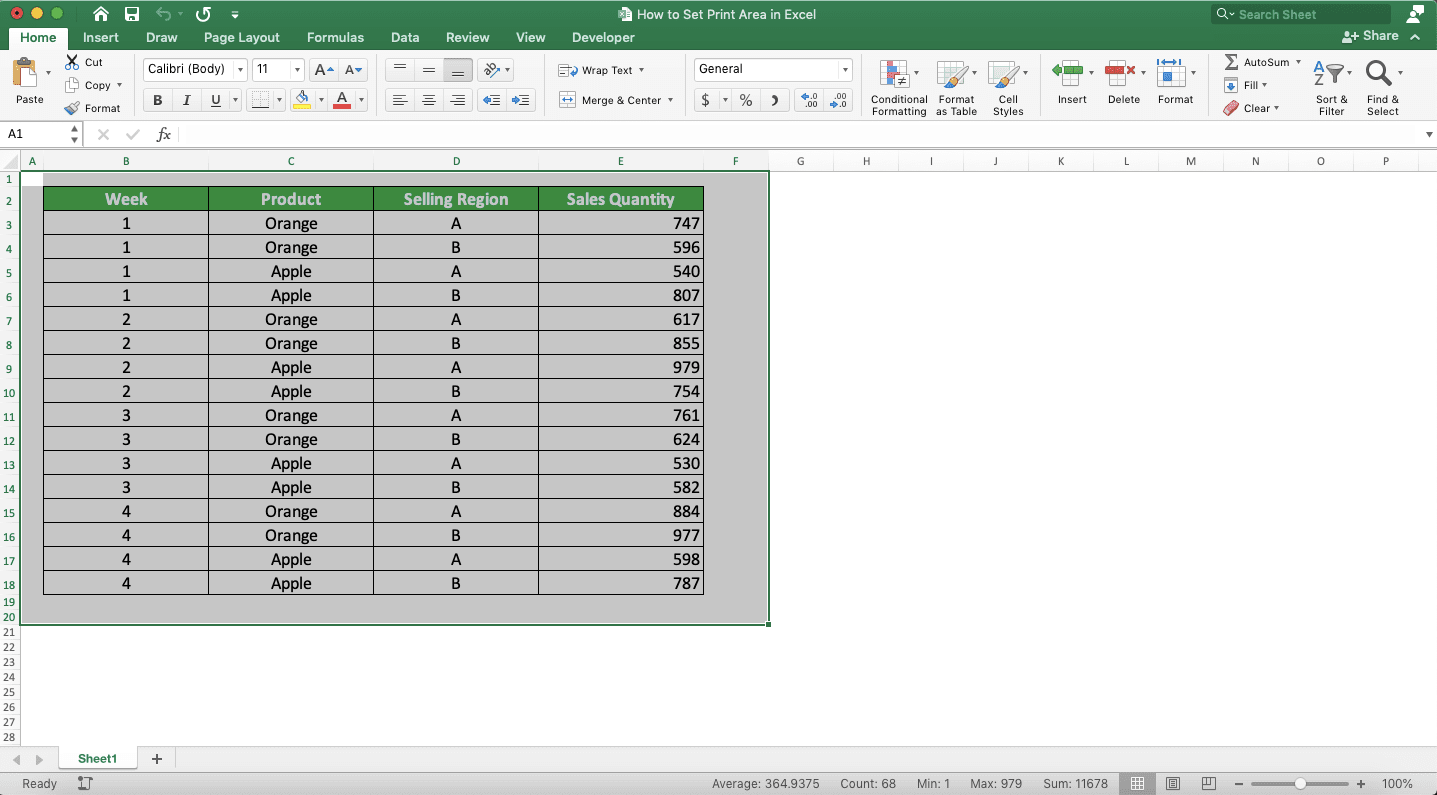
-
Go to the Page Layout tab, click the Print Area dropdown button, and choose Set Print Area

-
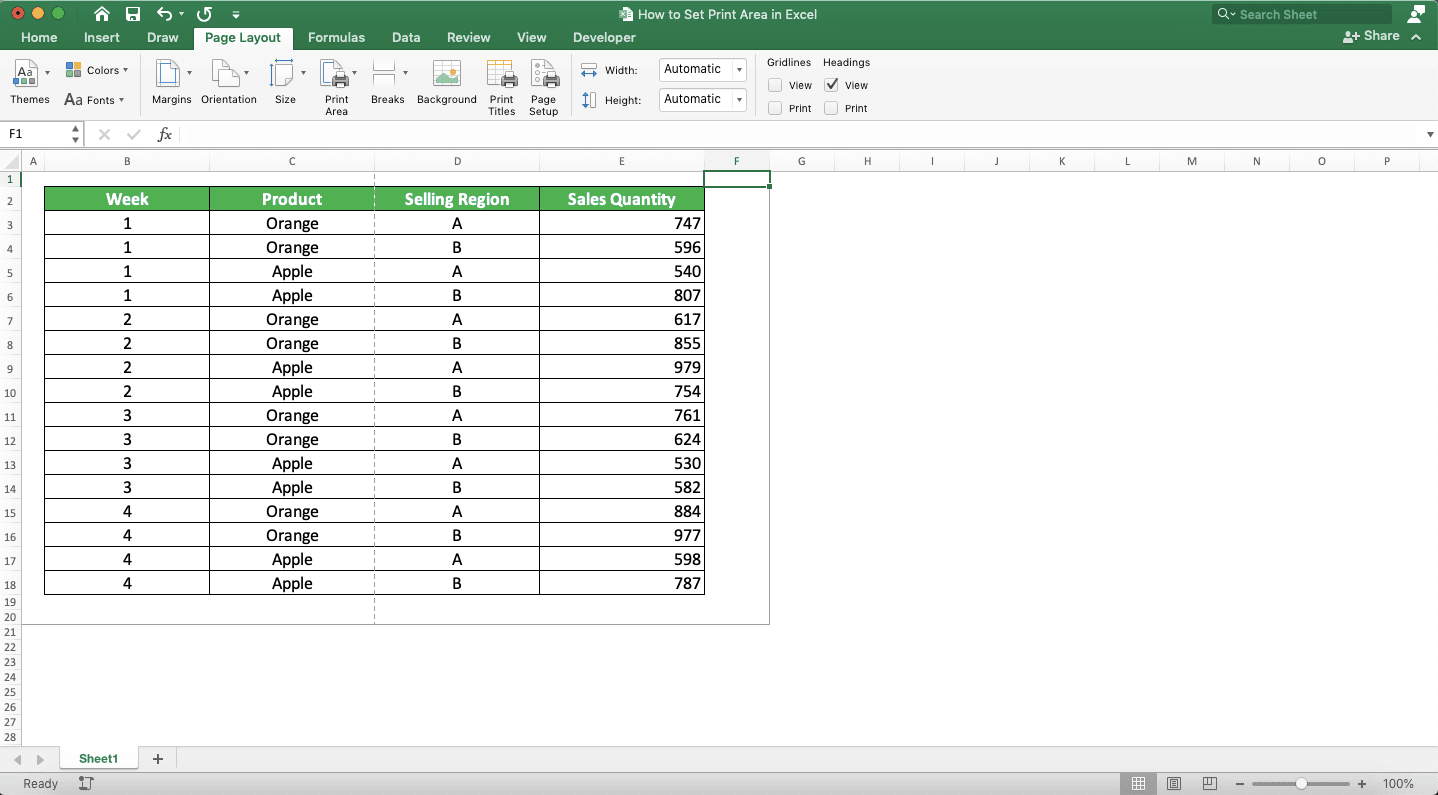
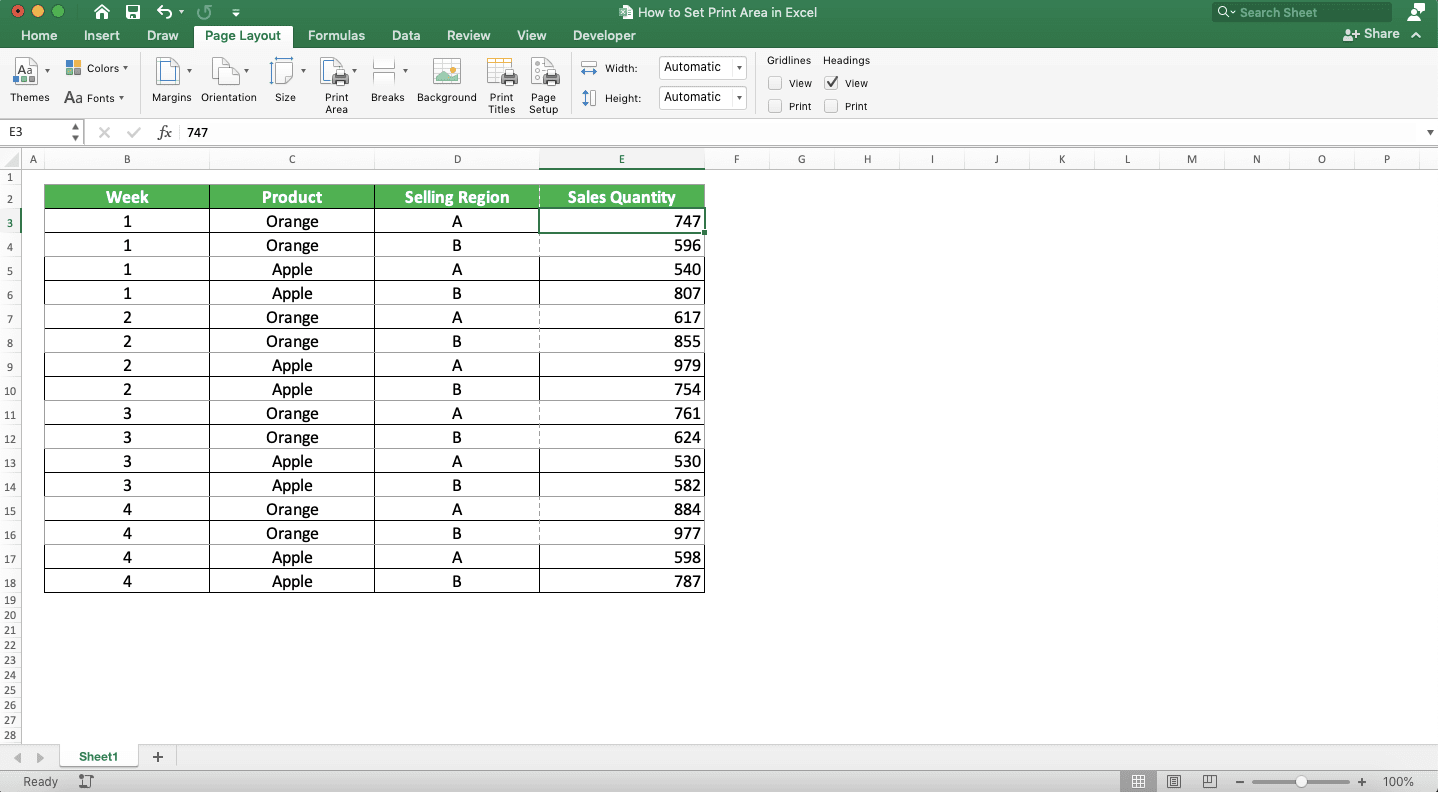
Done! Excel has set the cell range you highlight as its print area. You can see the print area mark in the form of gray border lines around the cell range
How to Set Multiple Print Areas in Excel
Need to set multiple, non-adjacent print areas in your excel worksheet?Just press and hold the Ctrl (Command in Mac) button while selecting non-adjacent cell ranges before you set your print area. By doing that, you should be able to highlight non-adjacent cell ranges at the same time like this.

Then, just set your print area by using the steps we have discussed before (starting from step 2). By doing that, you have set multiple print areas in your excel worksheet!
How to Modify Print Area in Excel
Once you have set the print area in your worksheet, you may want to modify it occasionally. To do that is also quite simple.You can just redo the steps to set your print area if you want to set it up all over again. Or, if you want to just edit your current print area, then you can do these steps below.
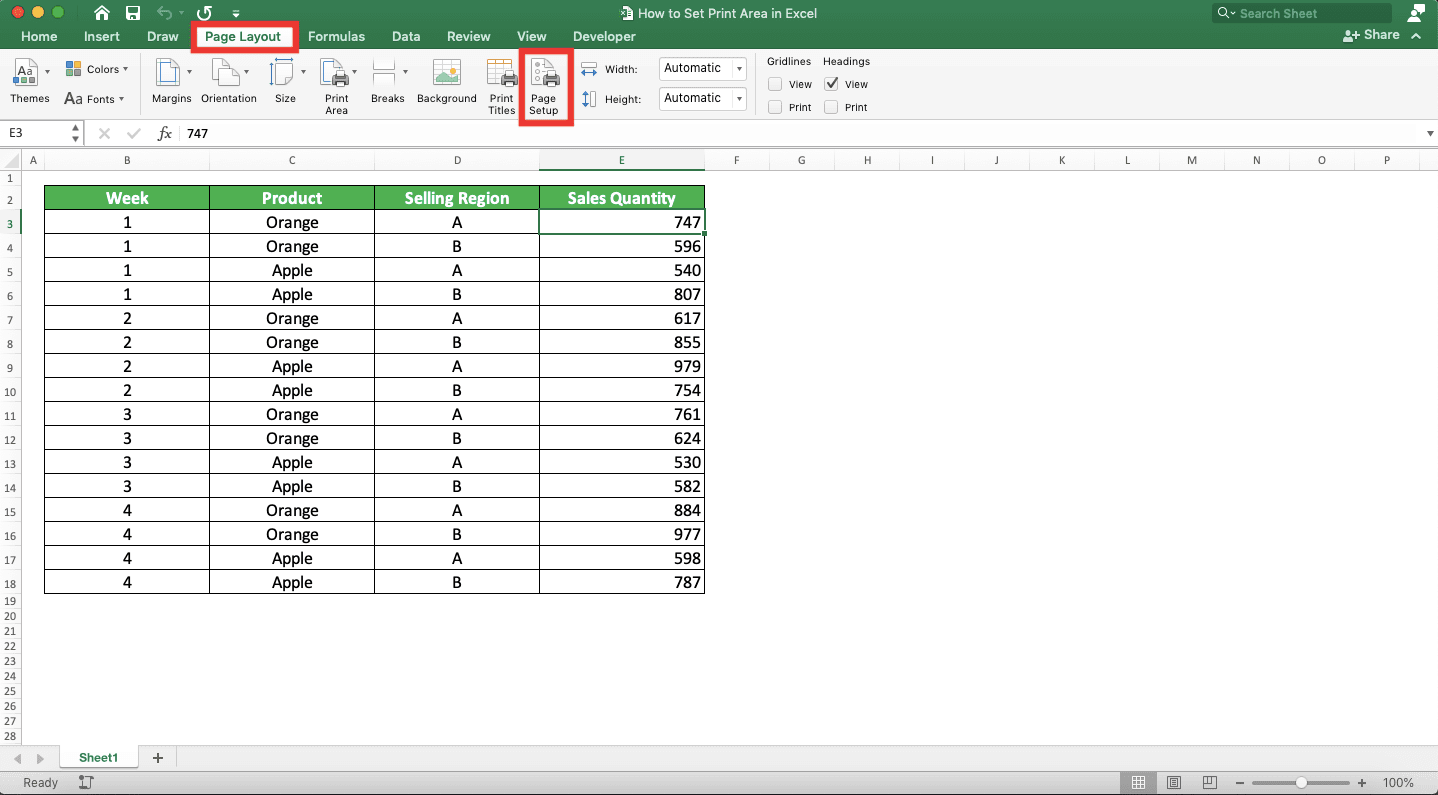
Go to the Page Layout tab in your excel file and click the Page Setup button there.
In the dialog box that shows up, go to the Sheet tab. In there, you should see the Print area text box where you can edit the print area you have set.
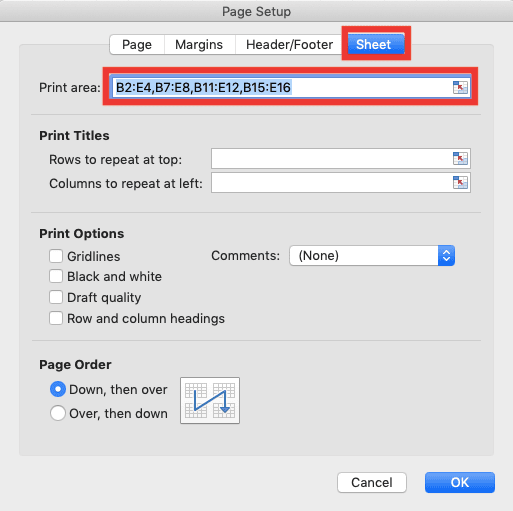
You can edit your current print area by correcting the cell range coordinate typing in the print area text box. You can also drag across your worksheet in the text box to input a new cell range.
If you need to add non-adjacent cell ranges for your print area, just type a comma sign. Then, enter the new cell range you want to add.
After you finish modifying your print area, click the OK button in the dialog box to finish the modification process.
How to Clear Print Area in Excel
To clear the print area you have set in your excel file, just go to the Page Layout tab. Then, click the Print Area dropdown button and choose Clear Print Area.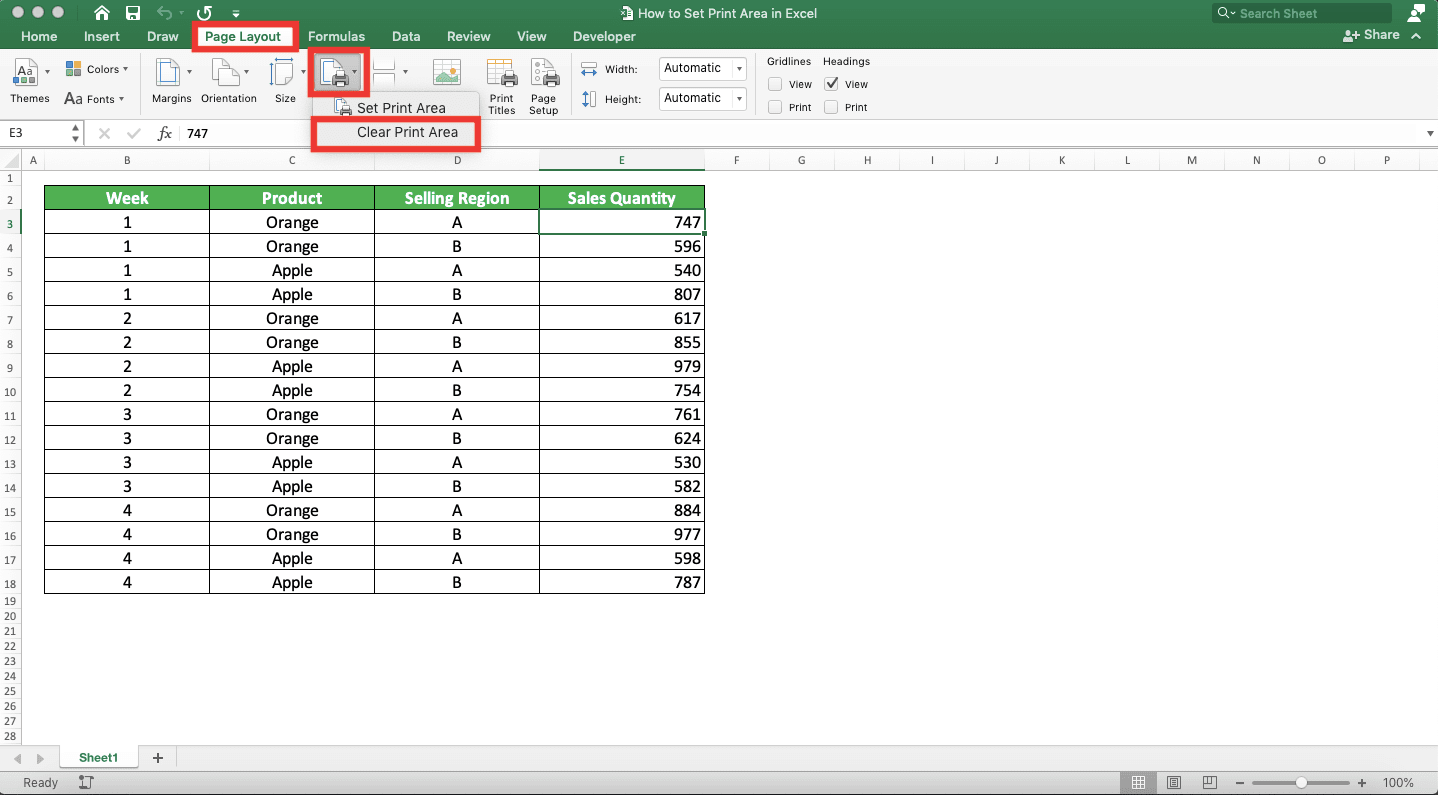
By doing that, you have removed the print area you have set!
Setting Print Areas Not Working? Possible Solution
You cannot set the print area you want in excel?Try to clear your current print area before trying to set up a new one. By doing that, you should be able to set up the print area without a problem!
Additional Note
If excel cut the columns in your print area into separate pages and you don’t want that, do this. In your print settings, set the scaling setting into Fit All Columns on One Page.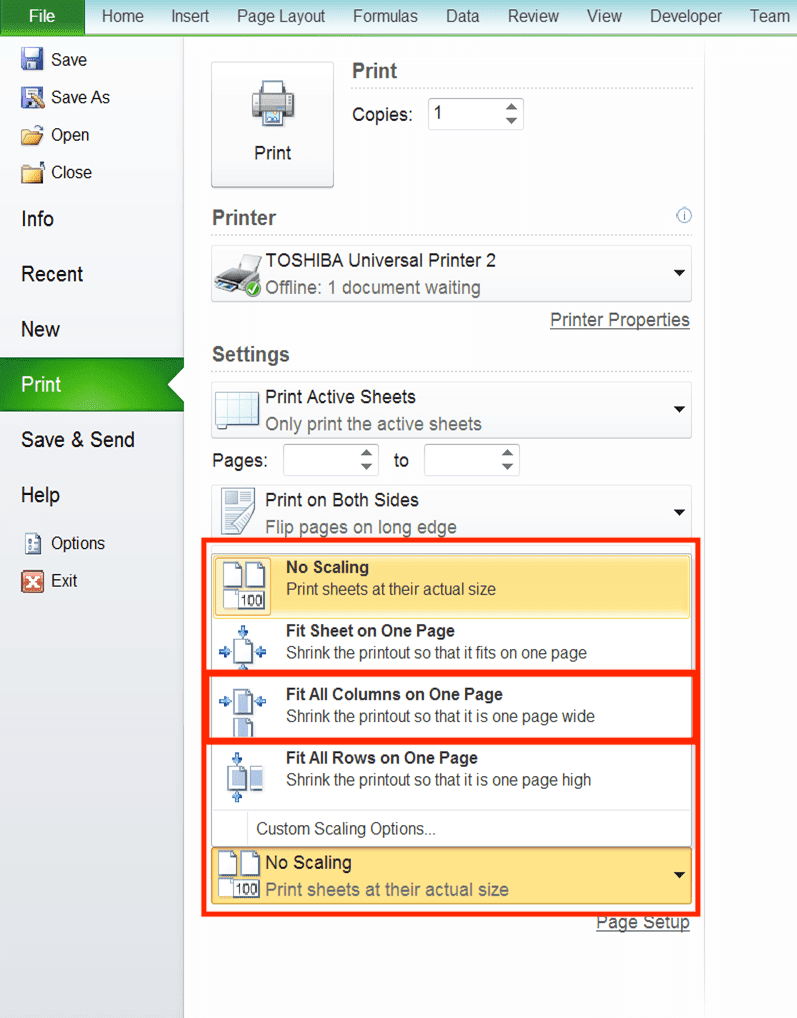
By doing that, you should have all the columns in your print area intact!
Related tutorials you should learn from: